Deltona 407-552-6217
Jacksonville 904-469-8310
contact@itzconstruction.com
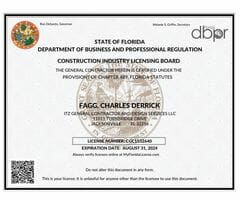
License# CGC1532640
Hire Us Today
Home
Services
Commercial Remodel and Renovation
Residential Renovation Services
Bathroom Remodel
Kitchen Remodel
Exterior Services
Fences and Decks
Property Rehab and Reconstruction
Our Work
Locations
Jacksonville and Surrounding Areas
Deltona And Surrounding Areas
Blog
Contact
Home
Services
Commercial Remodel and Renovation
Residential Renovation Services
Bathroom Remodel
Kitchen Remodel
Exterior Services
Fences and Decks
Property Rehab and Reconstruction
Our Work
Locations
Jacksonville and Surrounding Areas
Deltona And Surrounding Areas
Blog
Contact
Blog
Handy tips and ideas every homeowner needs to know
Scroll to top